

Appearance
The canvas
The canvas is where you build. You drop components onto it, wire them together, and read the results back — all on one infinite, grid-aligned surface. This page covers moving around the canvas and the two ways to place a component: from the palette and by double-clicking to search.
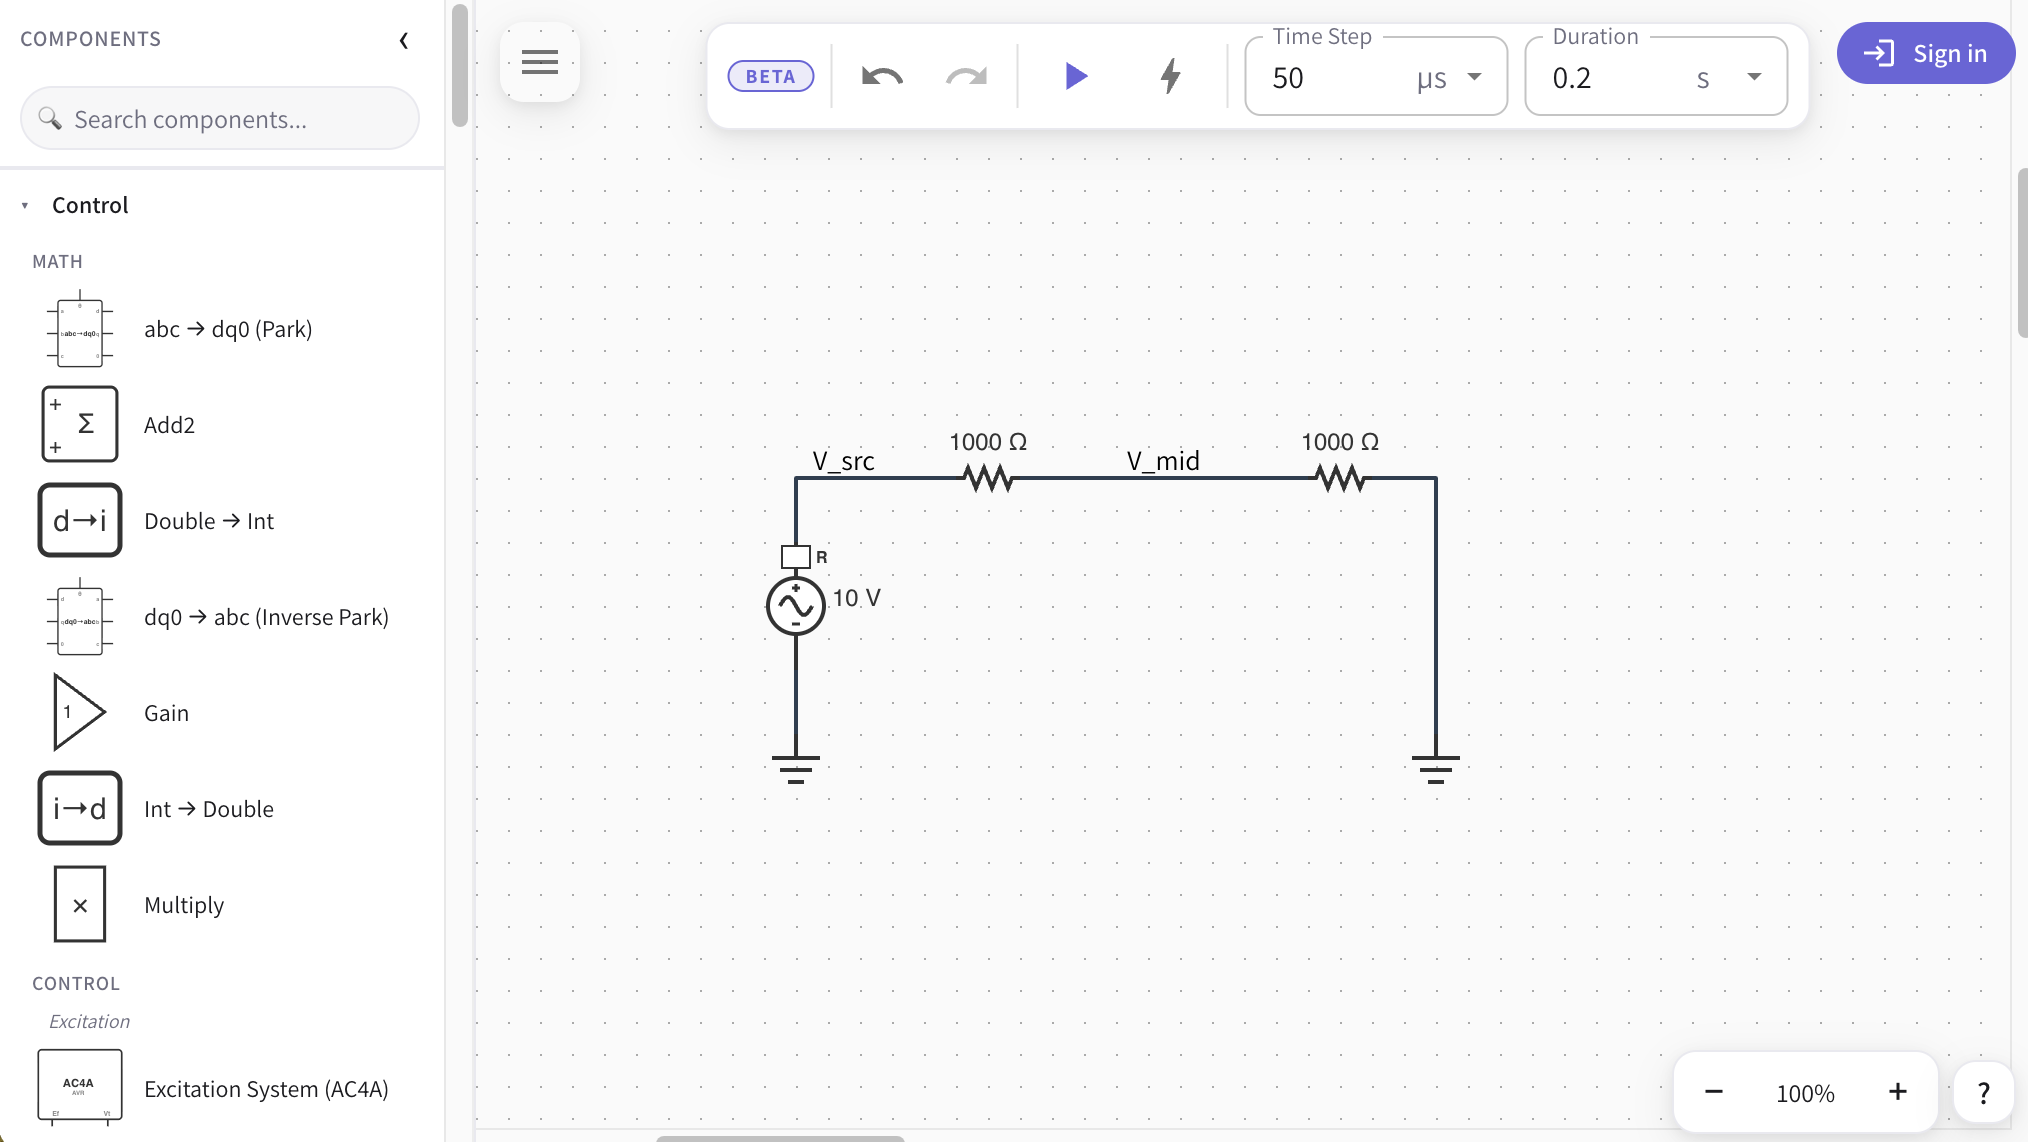
The editor at a glance
When the app loads you have four surfaces:
- The component palette — a searchable, categorized list of every component, docked on the left. Open by default; collapse it with the ‹ button in its header, and toggle it from the library button at the left end of the top bar.
- The canvas — the dotted-grid work area in the center. It scrolls and zooms, and grows in every direction as your circuit expands.
- The top bar — the library button, the menu (☰) and the circuit's name on the left; undo / redo, Run, load flow and the Time Step / Duration fields in the middle; Share and your account on the right. See Running a simulation.
- The status bar — a narrow strip along the bottom edge. The left end opens Circuit info (i), Observables, Parameters and Logs; the right end shows the build number, the zoom control and the ? help button.
Results appear in display components you place on the canvas like any other part: the Oscilloscope, the Plot and the Meter. See Displays.
Moving around the canvas
The canvas is effectively infinite — it auto-grows as you place components near an edge, so you never run out of room.
Pan (move the view):
- Scroll with the mouse wheel or trackpad to move up / down; hold
Shiftfor horizontal on most mice. - Right-click drag to pan freely. It works from anywhere on the canvas, including on top of a component or a wire, so you never have to hunt for empty space first. Release without moving and you get the right-click menu as usual.
- Middle-mouse drag does the same thing, if you prefer it.
- One finger drag on a touch device pans the canvas.
Zoom (25%–400%, in 25% steps):
- Use the zoom control on the right of the status bar at the bottom of the editor: the − / + buttons step the zoom, and the center field is a live percentage you can click and type into (e.g. type
150and pressEnter). - Hold
Ctrl(⌘on macOS) and scroll to zoom in on the point under the cursor. - Pinch with two fingers on a touch device.
Everything snaps to the grid
Components and wire endpoints snap to a 16-pixel grid. That's what keeps wires drawing as clean straight lines between neighboring parts — you don't have to nudge anything into alignment by hand.
Placing components from the palette
The palette is your browse-and-drop rail. Type in the Search components… box to filter by name or description; matches expand every section so nothing hides behind a collapsed group. Clear the box to return to the full, categorized list.
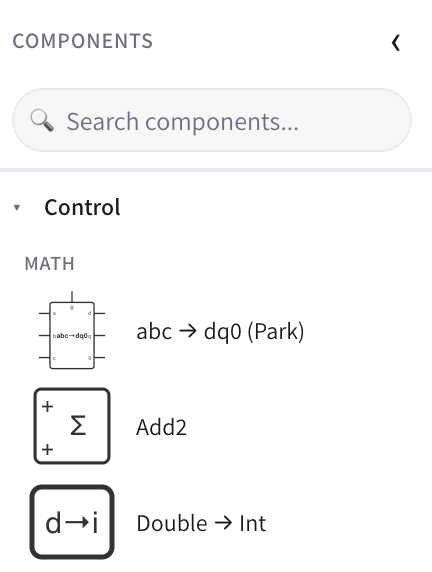
Components are grouped by domain — Control, Electrical, Measurement, and Configuration — and then by category within each. Every row shows a thumbnail of the component's symbol and its name; hover for a one-line description. Components that need a higher plan appear grayed out (see Plans & limits).
There are two ways to place a component with a mouse or pen:
- Tap to arm. Click a row once. A semi-transparent ghost of the component follows your cursor. Move to where you want it and click on empty canvas to drop it.
- Press and drag. Press on a row and drag past a few pixels: the ghost is picked up immediately and dropped when you release the button over the canvas.
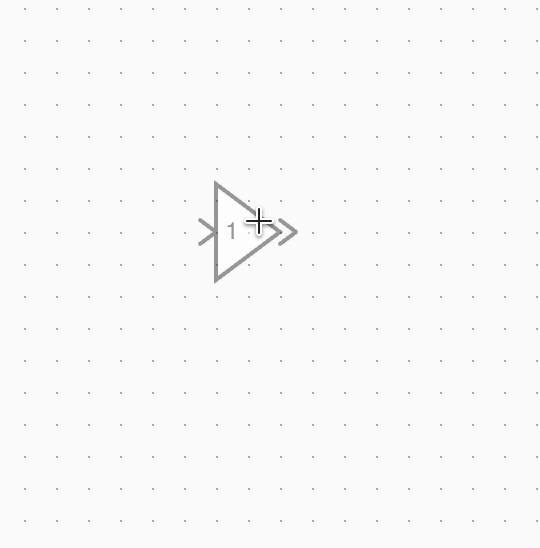
While a ghost is in flight:
- Press
Rto rotate it 90° clockwise before dropping. - Press
Esc(or click back on the palette) to cancel without placing anything.
Placing on touch
On a touch device, long-press a palette row for about a third of a second to pick it up, then drag onto the canvas and lift your finger to drop. A quick tap is intentionally ignored so you can scroll the palette list without accidentally dropping a component behind it.
The Bus tool
The palette's Three-Phase category also has a Bus entry. It places a three-phase bus bar instead of a fixed-size symbol — a shared node that other components tap into, and the place where load-flow results are reported. See Signal routing & buses.
Placing components by double-click search
When you already know what you want, you don't have to travel to the palette and back. Double-click any empty spot on the canvas to open a spotlight-style Add component search right where you clicked.
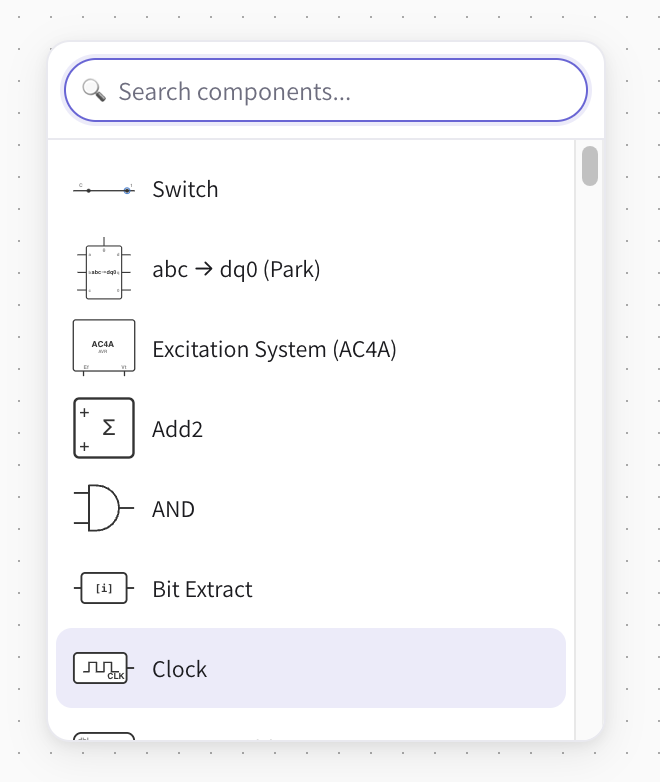
- Double-click empty canvas (or double-tap on a touch device). The search box opens at that point, already focused.
- Start typing to filter — the list ranks the closest matches first.
- Pick a component:
- Click a row, or
- use
↑/↓to move the highlight and pressEnterto place the top / highlighted match.
- The component drops exactly where you double-clicked — no second click needed.
Press Esc or click outside the popup to dismiss it without placing anything.
Palette vs. quick-add
They share the same catalog and the same search, so use whichever is faster in the moment: the palette to browse and discover, the double-click search to type-and-place without leaving your spot on the canvas.
Selecting, moving, and rotating
Once a component is on the canvas:
- Click it to select; drag to move it (it re-snaps to the grid on release, and connected wires re-route automatically).
- Press
Rto rotate the selected component 90° clockwise, orMto mirror it. - Press
Delete/Backspaceto remove it. - Double-click a component to open its properties dialog and edit parameters. See Parameters & units.
- Press
Ctrl+A(⌘+Aon macOS) to select everything on the canvas, or right-click empty canvas and choose Select all. A subsystem comes along as a single unit — the components inside it travel with it rather than being selected one by one.
Select two or more components and press Ctrl+G to put them in a group: a light frame that moves them together. A group has no electrical meaning; Ctrl+Shift+G takes it apart again. Both are also on the right-click menu.
Keyboard and mouse shortcuts
On macOS, use ⌘ wherever the table says Ctrl. The right-click menus show the same shortcuts next to each item.
| Shortcut | What it does |
|---|---|
Esc | Cancel the component you're placing, or close a popup. |
Delete / Backspace | Delete the selection. |
R | Rotate the selected component (or the one you're placing) 90°. |
M | Mirror the selected component (or the one you're placing). |
Ctrl + A | Select everything on the canvas. |
Ctrl + click | Add a component to the selection, or take it out. |
Ctrl + drag | Drag a copy of the selection. |
Ctrl + C / X / V | Copy, cut and paste. |
Ctrl + G | Group the selected components. |
Ctrl + Shift + G | Ungroup the selected group. |
Ctrl + Z | Undo. |
Ctrl + Shift + Z, or Ctrl + Y | Redo. |
Shift + click a wire | Start a new wire from that point (a T-junction). |
| Double-click empty canvas | Search for a component and place it there. |
| Double-click a component | Open its properties dialog. |
| Double-click a wire | Name the wire's signal. |
Ctrl + scroll, or pinch | Zoom around the cursor. |
| Right-drag or middle-drag | Pan. |
On a touch device, a double-tap does whatever a double-click does. The right-click menu is a mouse gesture; touch does not open it. The arrow keys don't move the selection; drag it instead.
See also
- Running a simulation — set the time step and duration, then press Run.
- Wire routing — how connections are drawn and edited.
- Observables — name the signals you want to record and plot.
- Your first circuit — a start-to-finish walkthrough.